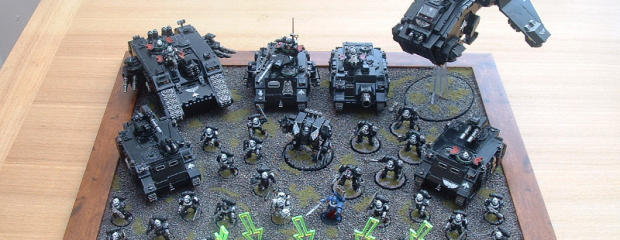
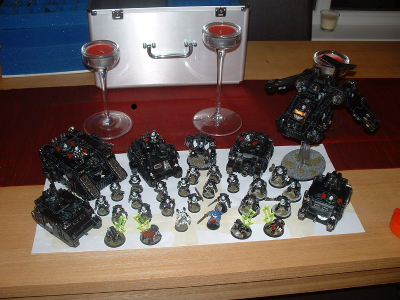
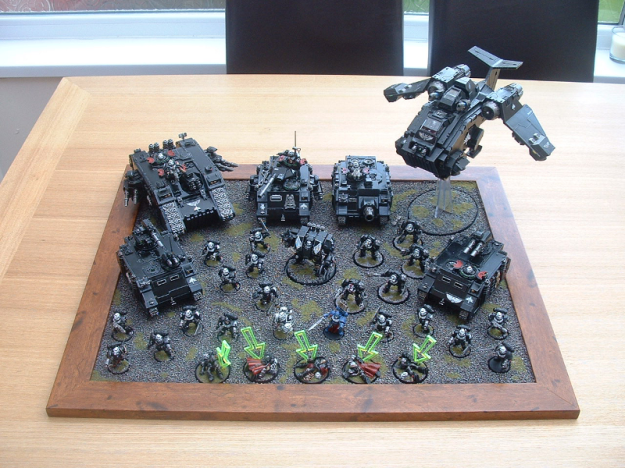
Recently I’ve spent a lot of time looking at the entries for Games Workshop’s Armies on Parade contest. For a time I considered making an entry of my own, though in the end I chickened out through either lack of confidence, motivation or simply the fear of public humiliation. However this past week, with those thoughts still lodged in my head, I did some poking around with a few ideas. I decided I wanted to create a multi-purpose base for my current tournament-orientated list. It would serve as both a carrying tray and as the base for a display piece (a la Armies on Parade). Style with function, so to speak.
My initial thoughts were to use a wooden shelf kit as the base (my woodworking skills are limited so precut kits are useful as I don’t have to worry about straight lines….). I did a bit of doodling creating some mockups on paper until I got an idea of how it was going to look. I went to Wilkos the following morning only to find the shelf kit I had in mind was actually out of stock. Being the impatient type I wandered around the shop, leaving my wife sat outside with the dog, in search of some much needed inspiration.
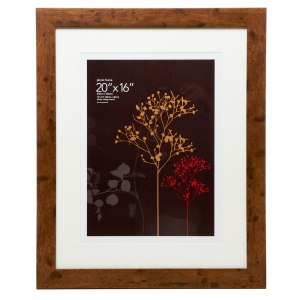
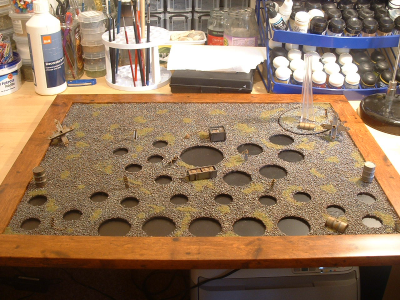
When all looked lost and my interest was waning I caught sight of some picture frames. They were deeper than the shelf would be, but not as wide. Hmmm, I could use these…. I picked up one with a walnut effect type finish (it’s actually laminated plastic) and headed for the checkouts. I got it home and ripped away the plastic wrapping and took the frame apart. Handily the back piece was actually 2mm thick MDF – perfect for what I wanted. I also removed the glass as I would be needing that later. I took some time to make some alterations to my paper template to fit the new dimensions and affixed it to the MDF with some masking tape.
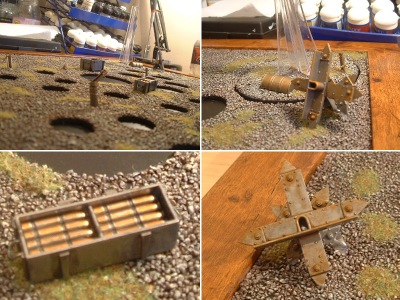
I then retreated to the shed for an hour, much to Karon’s amusement, to cut out all the necessary holes (lots of swearing and shouting was to be heard apparently). The 25mm holes were drilled out using a standard 25mm spade bit, while the 40mm and 60mm holes were made using an adjustable holesaw (tip for anyone else who does it – 60mm bases aren’t actually 60mm). The hole for the Storm Raven base was cut out using a jigsaw. After a quick sanding of the holes it was time for some assembly.
I took the original piece of glass and using some spray-mount adhesive glued it to the back of the MDF sheet, forming the new base. After all the glue was dry the whole assembly was given a coat of primer (Halfords car primer as usual) and left to dry before it was given a second coat. When the primer was completely dry the assembly was put back into the frame and fixed in position with liquid nails and clips.
For the actual battlefield surface I resorted to the same method I use on individual miniatures. In hindsight I probably could have done it a lot cheaper by altering the method, but this way works at least. The base was covered in watered-down PVA glue before having fine gravel (Hornby railway ballast) poured over the top.
Again this was left to dry overnight, and the following morning all the excess was tipped away. This was followed by a quite liberal application of Devlan Mud. In all I used six whole pots, and no doubt it would probably have been more advisable to use either thinned brown paint, or even Vallejo’s brown wash which is available in large bottles. All said though, I’m happy with how it looks. It’s important that the wash is completely dry so this was left overnight again.
The next day the surface received several heavy drybrushes; Codex Grey, Fortress Grey, Bleached Bone and finally Skull White. I also applied Scorched Grass in uneven patches. Isn’t it strange that the more you try to make something appear random, the more uniform it actually looks? Anyway, with the grass in place I put the army on to get an idea at how things were looking. Though I thought it looked OK, felt it needed something more. Minor details and character were needed in some way. I drove over to Maelstrom (handy having it within a five-minute drive) and had a poke around. Rather surprisingly there wasn’t much that I could put to use, save for an old pack of the Citadel Battlefield Accessories set. I grabbed one of those and headed back home.
To reinforce the oil drums and tank traps from the rather lacklustre kit I found out some old girders from an Italeri kit, as well as some scale barbed wire that had been sitting in a box for years. All these parts were then assembled, base coated in Boltgun Metal and given dirty washes of browns and reds, before a drybrush of orange, giving a nice rusty effect. These were then dotted around the surface to break up the linearity.
And there we have it – the multi-purpose display tray. I’ll be at the UK Team Challenge next weekend, and will no doubt have it with me, desperately attempting to improve on my position from last year (40th out of 40). 😉
Update: For the record I was individually ranked 16th. 🙂
