
I’ve spent the past year building up a new Blood Angels army and this next six months sees the development of a Deathwing force. This means my original baby, the Dead Suns chapter, has been sat in the corner feeling neglected, unloved and forgotten. However they need search for absolution no longer since I’m periodically going back and giving them all small updates.
Back when I started up with the Dead Suns I was fresh back into 40k after a lengthy absence and the army was built to the standard I knew I could achieve at the time using the materials and skills I already had. Some techniques and methods I avoided at the time simply because I wasn’t capable of doing a good job. One such finishing technique was weathering. I’ve never been a massive fan of the ultra-realistic finish on sci-fi tanks. I think it works extremely well in the historical context of wargaming, but personally in the 40k setting it doesn’t really work for me. However, small amounts of weathering can really give the army that little something extra.
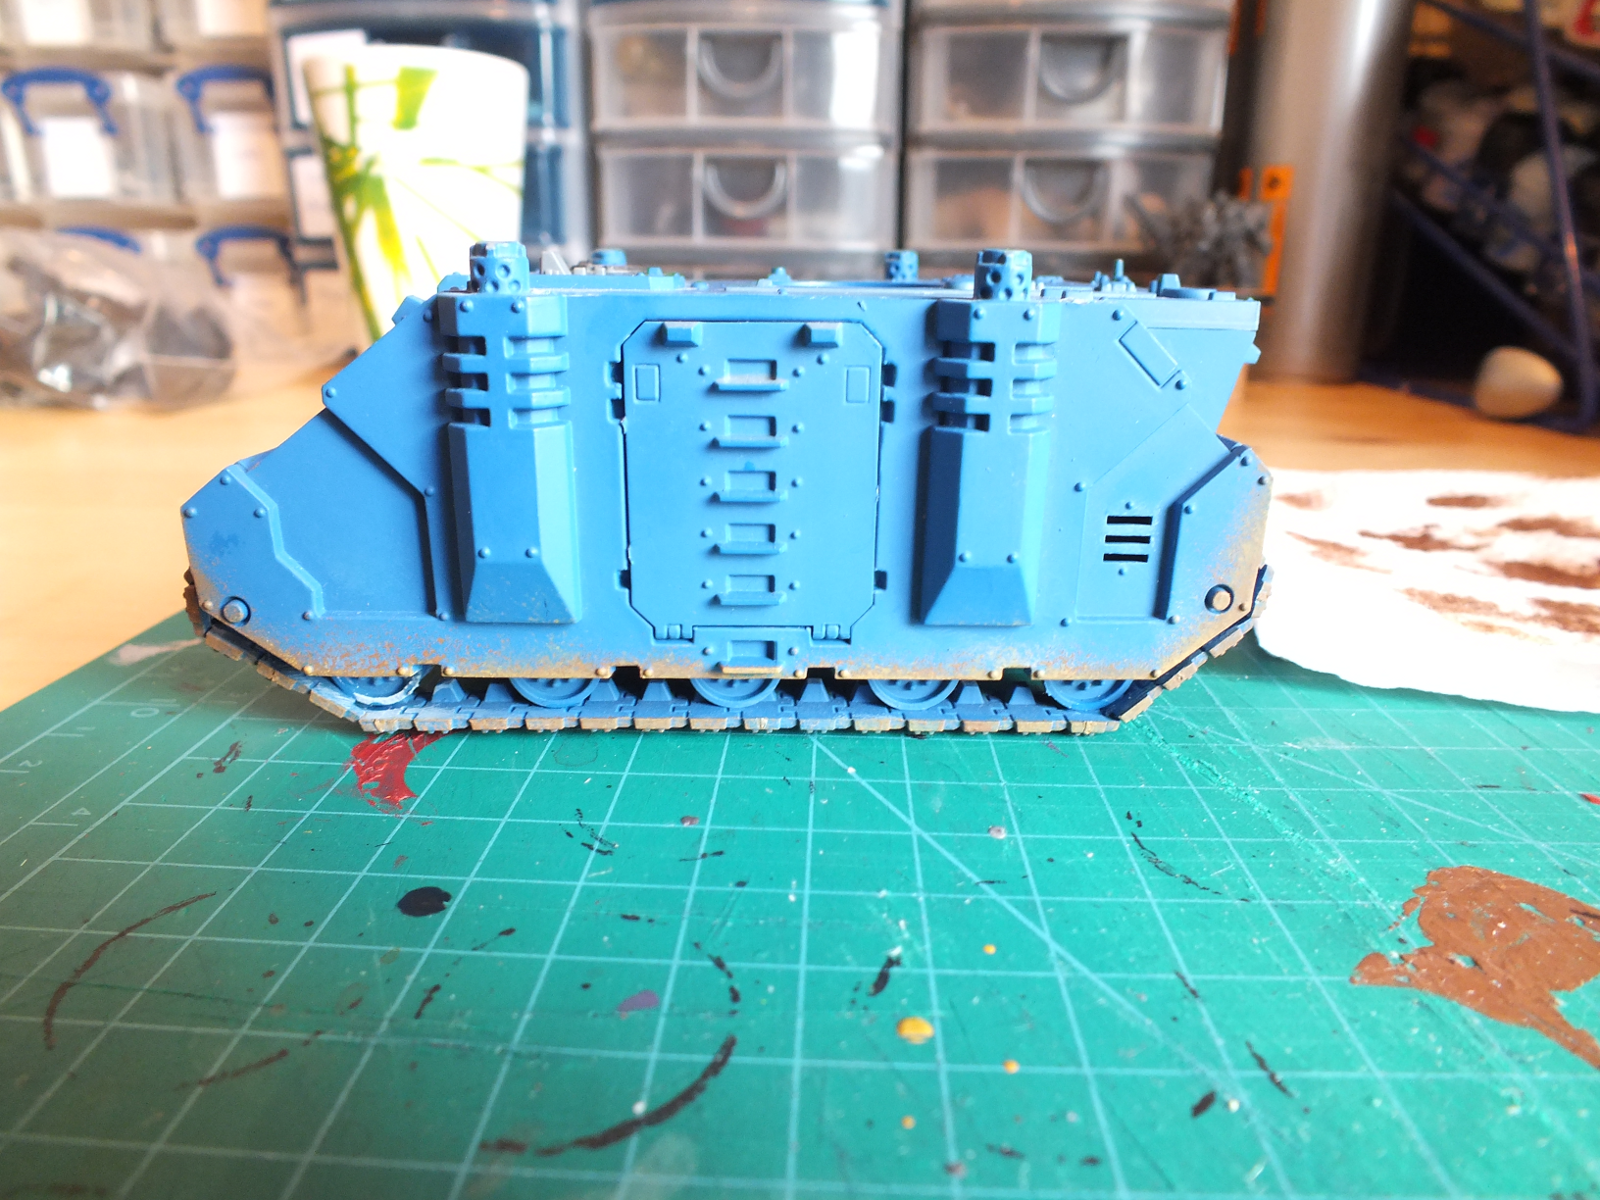
It might help to practice on a spare model first.
As I’d never done any work like this before I decided to do some practice on an old Rhino. Luckily I have Rhino chassis coming out of my ass.
OK, what do we need? Well you are going to need some paint. For this I used Calthan Brown, Graveyard Earth and Bubonic Brown. Truth is any earthy browns, greys and reds will do depending on the severity of weathering you require.
You’ll also need a palette – though for this I actually just use a paper towel folded in half a couple of times. This is because you almost want the paint dry (exactly as if you were drybrushing) and the paper towel absorbs some of the moisture.
Next up is the sponge. I used a piece similar to those that (used to) come in a blister pack but any sponge will do. Something like a kitchen scouring pad (don’t tell the wife) or an offcut of foam from an army case will do fine. Cut a piece that is around 10mm square and long enough to hold. Lastly, and perhaps most importantly, you’ll need a painted tank.
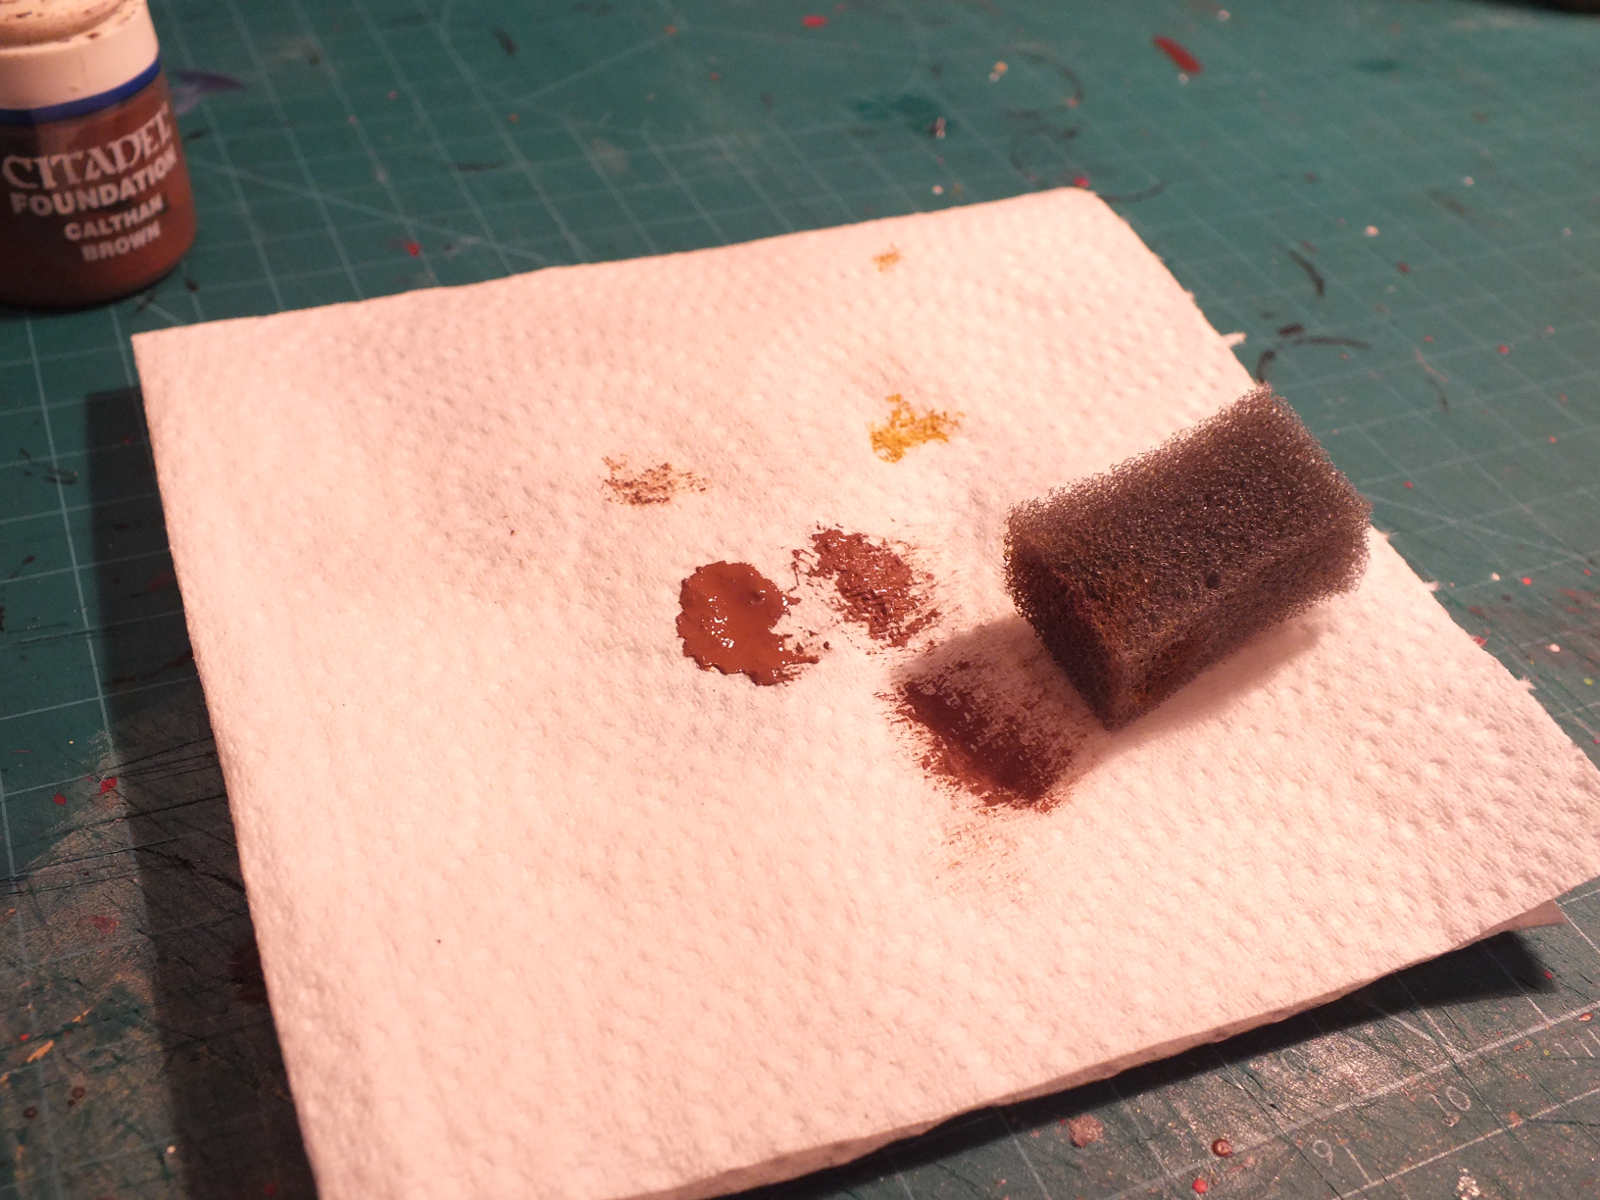
Wipe off most of the paint on a paper towel.
The technique is actually very simple and quick. The difficulty (and certainly in my case) is in overcoming that barrier in your head that says you are about to foul up a perfectly nice tank.
Put some paint on whatever palette you’re using and dip the end of the sponge in it. Again, exactly as if you were drybrushing, you want to wipe off as much excess paint as you can. Dab the sponge against the model in sharp, stabbing motions. Certainly you don’t want to drag or rub the sponge across the surface as this will just smear and likely look terrible.
Think about where the mud will have collected (reference photos of real-life vehicles helps here) and apply more heavily in those areas. Bear in mind as well that wet mud is darker than dry mud.

Build the layers up one by one concentrating on the areas mud would collect most.
Apply subsequent colours and build it up until you have the desired amount of weathering and dirt (these colours work well for green battlefields but if you usually play amongst city ruins and buildings consider light browns and greys for a more urban look).
For this Baal Predator I’ve opted for fairly light wear in fitting with the rest of the army’s ‘clean’ look but you can keep going if you want to, applying more and more layers, for a full-on, driven-through-a-swamp effect.
All that remains is to seal the model. A quick spray of Purity Seal (which for me has replaced the old gloss finish the Dead Suns used to sport into battle) and it is back ready for its second tour of duty on the tabletop.

